This section provides information about deploying Perform Media pixel via Google Tag Manager. Following are the steps for Google Tag Manager integration:
| Instruction |
Screenshot |
|
Click on New in the Tags section.
|

|
| Click on Tag Configuration and select Custom HTML as tag type and paste the base pixel code. |
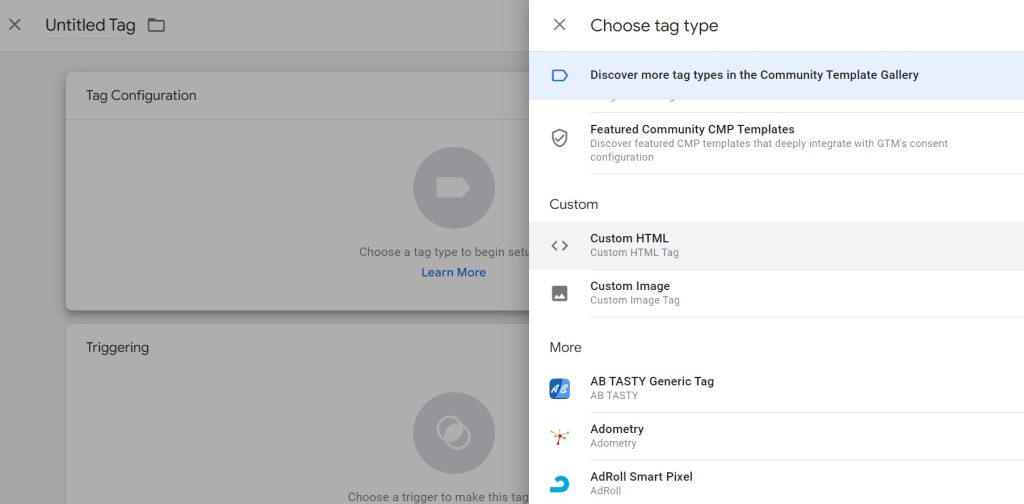 |
| Click on Trigger Configuration and select Page View, which fires on All Page Views. |
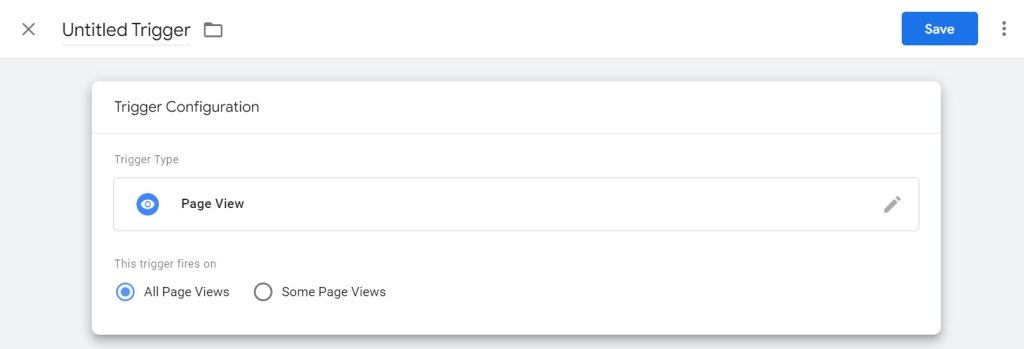 |
| Below is how the tag looks. Name it as “Base Pixel” and save it. |
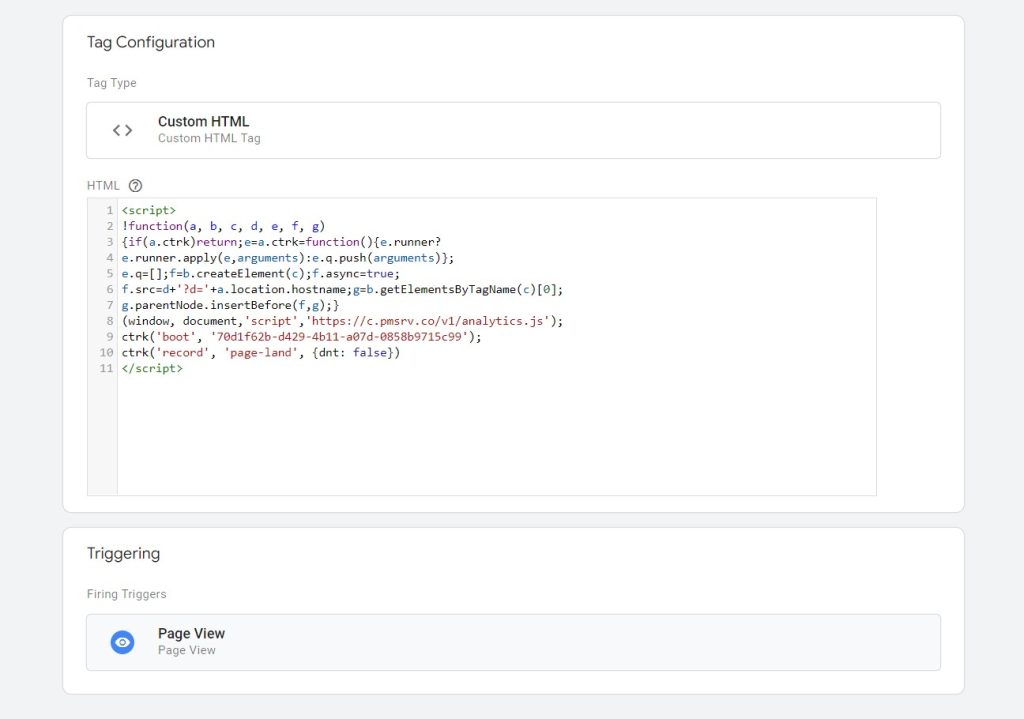 |
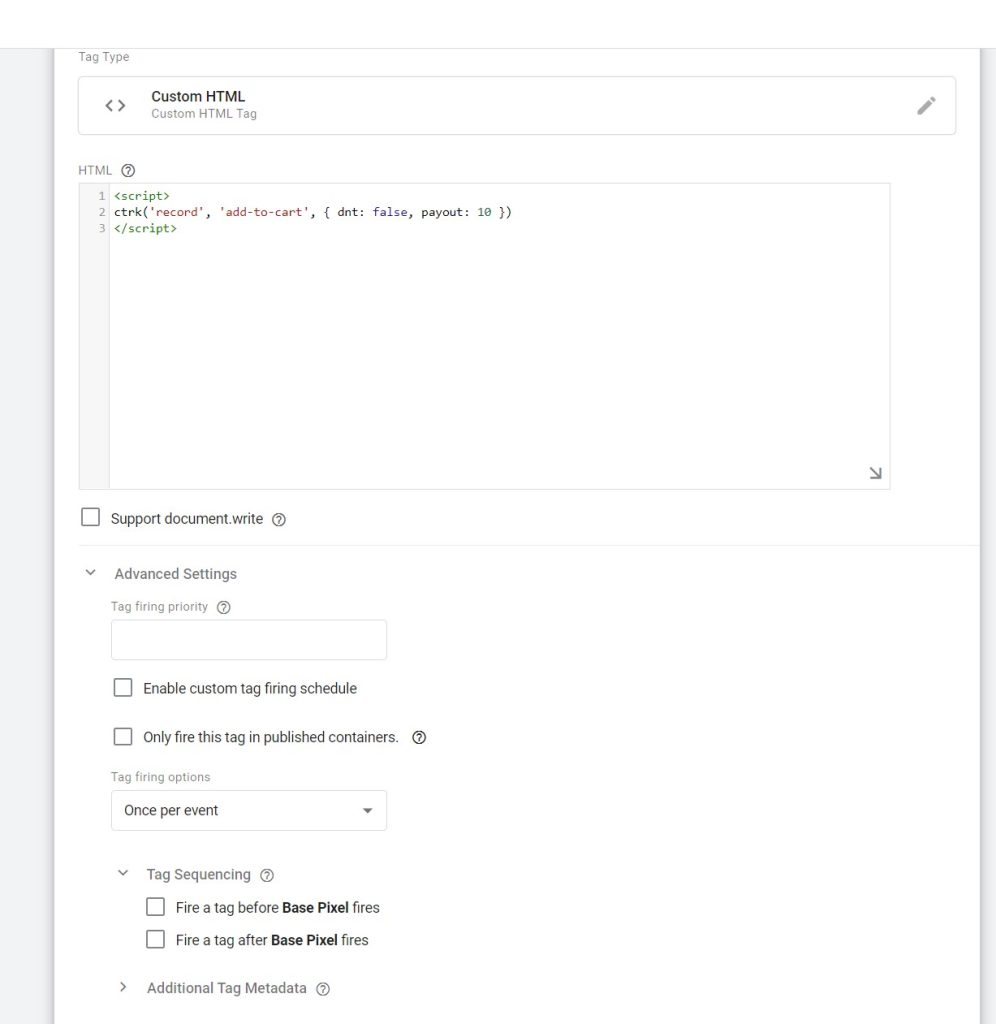
| To create an event-specific tag, create a new tag in the same way as above steps 1 and 2, and enter the event code. |
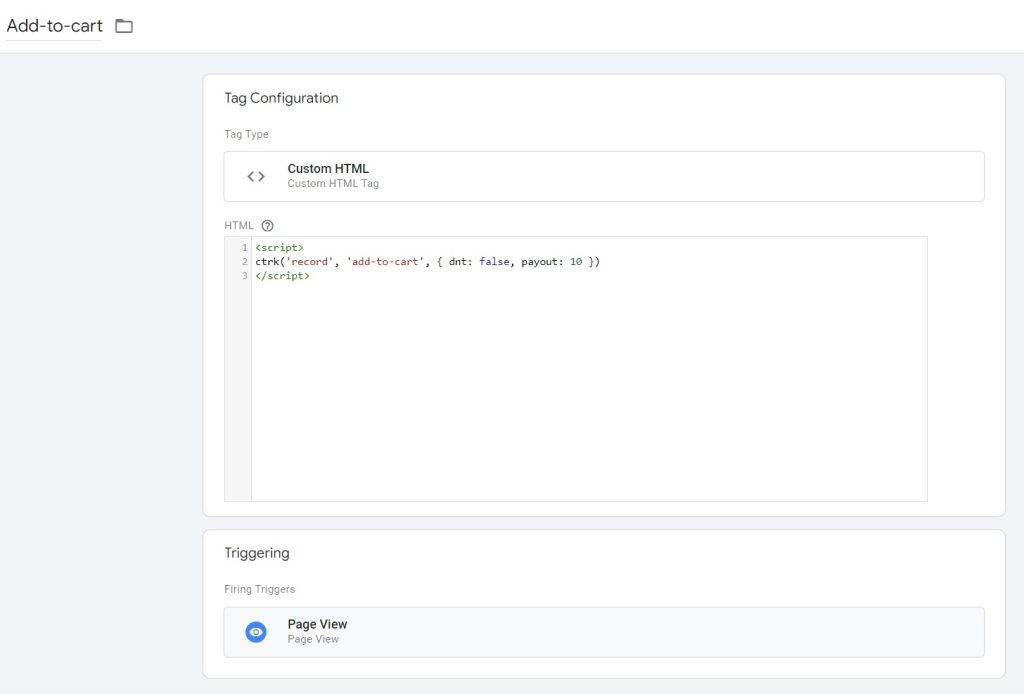 |
| Click on Tag Sequencing under Advanced Settings. Check the box near Fire a Tag before and then select Base Pixel (created in step 4) from the dropdown. |
 |
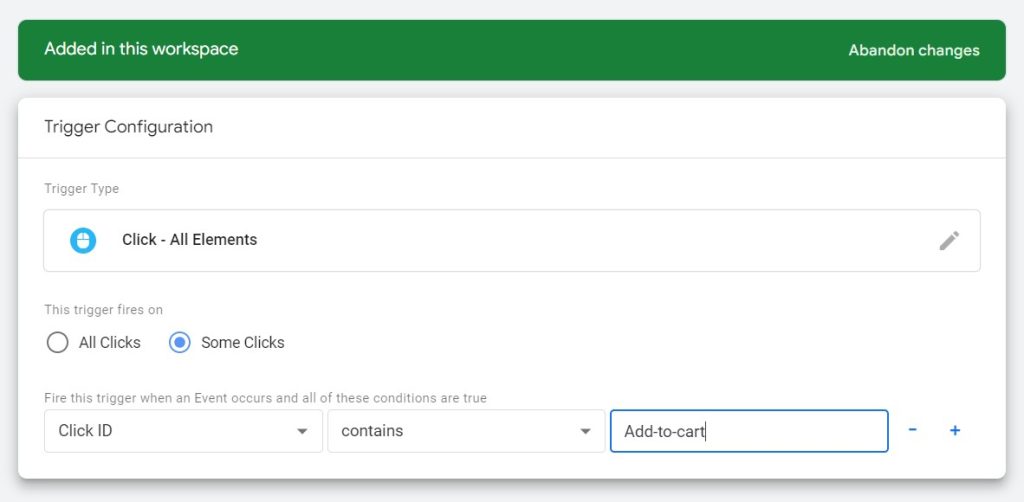
| Add a suitable trigger. For example, if you want to fire this event when a button with ID Purchase is clicked on, create a trigger. |
|
| Select Click – All Elements, then Some Clicks under fires on. Select Click Id, Contains, and enter the ID of click element ( In this case, Purchase). |
 |
| In case you want to add an event pixel as a ‘Page View’ event: Set the trigger on a ‘Page View’. Here you will be able to add a Page URL that you want to add an event pixel on (as shown in the screenshot below). You should create the event tag mentioned in Step 5,6,7 and add the new ‘Page View’ trigger created in this step to that event tag. |
|
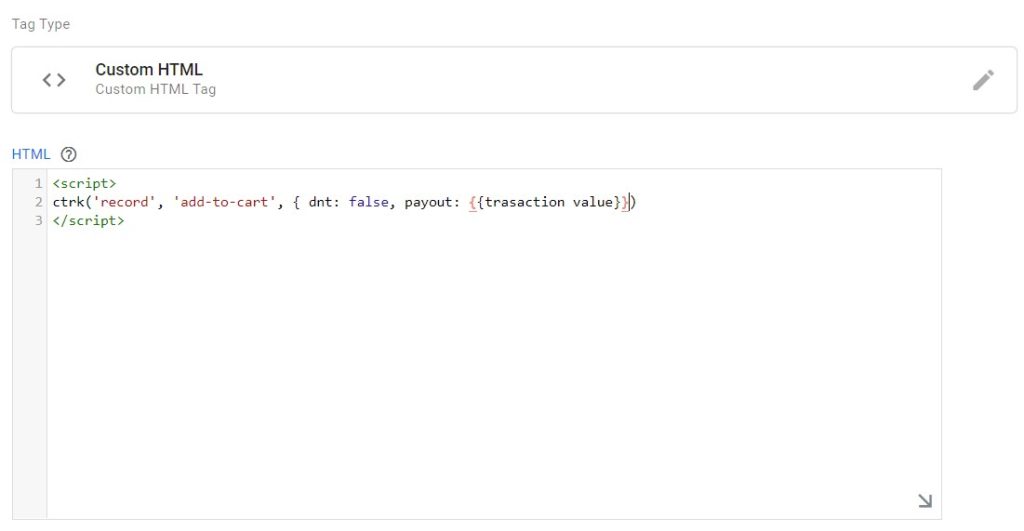
| In the case of using the GTM variable in the pixel script: Let’s say the GTM variable name is “transaction value”, please add the GTM variable with two curly braces as shown below: |
 |
| Save and publish your changes. |
|